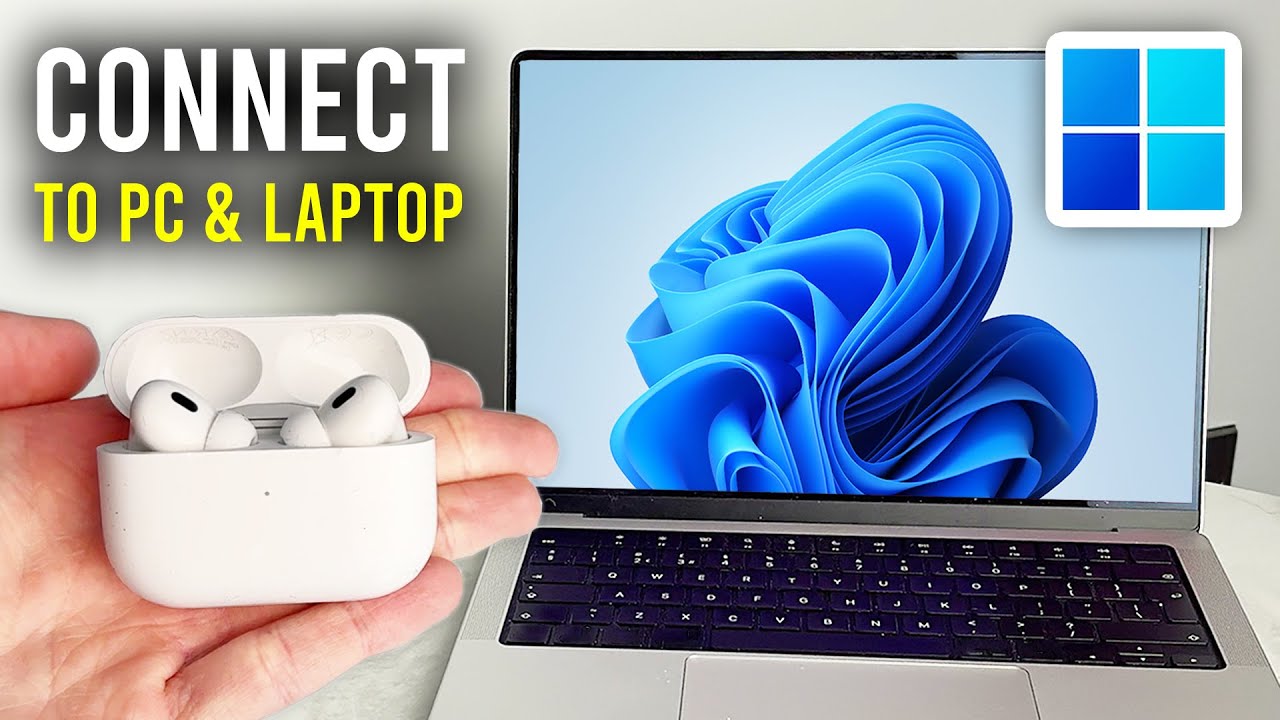
If you just got a pair of AirPod Pros and want to use them with your laptop, you’re in the right place. Whether you have a Windows machine or a Mac, connecting AirPods to a laptop might feel a bit tricky at first—especially if you’re new to Bluetooth settings or just expecting everything to “just work.” But don’t worry, I’ll walk you through every step with simple instructions, troubleshooting tips, and a few insider tricks.
By the end of this guide, you’ll be rocking your AirPod Pros for Zoom calls, binge-watching shows, or jamming out to your favorite playlists on your laptop.
How Do I Pair AirPod Pros with a Windows or Mac Laptop?
Pairing AirPod Pros with a Mac Laptop
If you’re on a Mac, pairing AirPod Pros is usually pretty smooth since Apple designs its devices to play nice together. Here’s exactly what to do:
- Open the AirPods Case: Keep your AirPod Pros inside the case and open the lid, but don’t take them out yet.
- Turn on Bluetooth on Your Mac:
- Click the Apple menu (top left corner) > System Settings > Bluetooth.
- Make sure Bluetooth is On.
- Put AirPods in Pairing Mode: Hold the small button on the back of your AirPods case until the light on the front starts flashing white. That means they’re ready to pair.
- Select Your AirPods from the List: Your Mac should show “AirPods Pro” in the list of nearby Bluetooth devices. Click Connect.
- Confirm Connection: Once connected, the light on the case will turn green, and your Mac will show your AirPods as connected.
The cool thing? Once paired, your AirPods automatically switch between your iPhone, Mac, and other Apple devices signed into the same Apple ID—pretty handy.
Pairing AirPod Pros with a Windows Laptop
Windows laptops don’t have the Apple ecosystem’s magic, but you can still get your AirPods working without too much hassle:
- Open Settings: Click the Start menu > Settings (gear icon).
- Go to Bluetooth Settings: Click Devices > Bluetooth & other devices.
- Turn On Bluetooth: Make sure Bluetooth is toggled on.
- Put AirPods in Pairing Mode: Just like on Mac, press and hold the button on the AirPods case until the indicator flashes white.
- Add Bluetooth Device: Click Add Bluetooth or other device > Bluetooth.
- Select Your AirPods from the list that appears and click Connect.
And you’re done! Your AirPods should now be connected as your audio output device.
What Bluetooth Settings Do I Need to Adjust on My Laptop?
Sometimes, your laptop’s default Bluetooth settings might not be set up for optimal use with AirPods, especially on Windows machines.
On Mac:
-
Automatic Ear Detection: This is usually enabled by default and lets your AirPods know when they’re in your ears. You can toggle this in System Preferences > Bluetooth > click the “i” next to your AirPods.
-
Sound Output Device: To make sure the sound is coming from your AirPods, click the volume icon in the menu bar and select AirPods Pro.
On Windows:
-
Set AirPods as Default Playback Device: After pairing, right-click the sound icon on the bottom right > Open Sound settings. Under Output, pick your AirPods Pro.
-
Disable Hands-Free Telephony (if needed): Sometimes, Windows splits AirPods into two profiles—one for music (high quality) and one for calls (low quality). If audio quality seems off, go to Bluetooth & other devices > Devices > find your AirPods > Properties > Services and uncheck “Hands-Free Telephony.” But remember, this disables the mic on your AirPods.
-
Ensure Bluetooth Drivers Are Updated: Outdated drivers can cause connection issues. To check, open Device Manager > Bluetooth, right-click your Bluetooth adapter > Update driver.
How Can I Troubleshoot Connection Issues Between AirPod Pros and My Laptop?
Okay, so sometimes things don’t go as planned. AirPods might not show up in your Bluetooth devices, or the sound drops unexpectedly. Here’s how to fix those headaches.
1. AirPods Not Showing Up in Available Devices
If your AirPods don’t appear when trying to pair:
-
Make Sure AirPods Are in Pairing Mode: Holding the button until the light flashes white is critical. If it just flashes green or doesn’t flash, close and reopen the lid and try again.
-
Restart Bluetooth: Turn Bluetooth off and on again on your laptop. Sometimes that refresh does the trick.
-
Forget and Re-Pair: If your AirPods were paired before but won’t reconnect, remove them from your devices list (click Forget this device), then start fresh.
-
Charge Your AirPods: Sometimes low battery means they won’t enter pairing mode properly. Pop them in the case and plug in for a bit.
2. Connection Drops or Poor Audio Quality
If you experience frequent dropouts or scratchy sound:
-
Move Closer to Your Laptop: Bluetooth range is about 30 feet (roughly 10 meters), but walls and interference can reduce that a lot.
-
Check for Interference: Other wireless devices, like WiFi routers or microwaves, might cause interference. Try changing your environment or turning off other devices.
-
Update Bluetooth Drivers (Windows): As mentioned earlier, keeping drivers current helps stability.
-
Check Bluetooth Version Compatibility: AirPods Pro use Bluetooth 5.0, so if your laptop has an older Bluetooth version, you might get worse connection quality.
-
Reset Your AirPods: Sometimes a reset is what they need. Put them in the case, press and hold the button until the light flashes amber then white, then pair again.
3. Mic Not Working on Laptop Calls
Windows sometimes struggles with the AirPods’ microphone. If your mic isn’t working:
-
Go into Sound settings > Input devices and make sure AirPods are selected.
-
Remember, disabling “Hands-Free Telephony” (as mentioned above) improves audio but disables the mic.
Are There Any Compatibility Limitations with Certain Laptop Models or Operating Systems?
Good question! AirPods Pro are designed primarily for Apple devices but can work with nearly any device supporting Bluetooth audio. That said, there are some limitations:
Mac Laptops
-
Best Experience on Latest macOS: Features like automatic device switching, spatial audio, and Siri support require macOS Big Sur or later.
-
Older Macs might not support the latest Bluetooth versions, limiting range or sound quality.
Windows Laptops
-
Bluetooth Version Matters: AirPods Pro use Bluetooth 5.0. If your laptop only supports Bluetooth 4.0 or earlier, connection quality may be lower, and range shorter.
-
No Apple-Specific Features: You won’t get noise cancellation control or battery percentage popups like on Macs or iPhones unless you use third-party apps (like “MagicPods” or “AirBattery”).
-
Mic Limitations: Windows sometimes treats AirPods as two devices (headset and headphones). This can cause mic or audio quality issues, especially on older Windows versions.
Linux or Other OS
- Compatibility exists, but you might have to jump through some hoops. These systems typically lack native support for AirPods features.
Quick Recap Table: Pairing AirPods Pro with Laptops
| Laptop Type | Steps to Pair | Key Settings | Common Issues |
|---|---|---|---|
| Mac (macOS 11+) | Open AirPods case > Bluetooth settings > Pair | Auto ear detection, sound output | None major, mostly smooth |
| Windows 10/11 | Settings > Devices > Bluetooth > Add Device | Set as default playback, update drivers | Mic issues, dropouts, older BT versions |
| Older laptops | Similar to Windows steps but may lack BT 5.0 | Driver updates critical | Poor audio quality, shorter range |
FAQs About Connecting AirPods Pro to a Laptop
Q: Why don’t my AirPods show up on my laptop?
A: Make sure they’re in pairing mode (light flashing white), Bluetooth is enabled on your laptop, and that they’re not already connected to another nearby device.
Q: Can I use the AirPods mic on my laptop?
A: Yes, but Windows sometimes splits audio and mic profiles, which can cause lower sound quality when the mic is active.
Q: My connection keeps dropping—what’s wrong?
A: Try moving closer to your laptop or updating Bluetooth drivers. Also, interference from other devices can cause drops.
Q: Will I see battery levels on Windows?
A: Not by default. You’ll need third-party apps for that feature on Windows.
Final Thoughts
Connecting your AirPods Pro to your laptop isn’t rocket science, but it does get a bit tricky if you’re unfamiliar with Bluetooth quirks or using a Windows machine. The biggest headaches usually come from Bluetooth settings, drivers, or interference. Just remember: put AirPods in pairing mode, turn Bluetooth on, and pick them from the list.
If you hit snags, don’t get frustrated—try the steps above, reset your AirPods, and check your laptop’s Bluetooth capabilities. Soon enough, you’ll enjoy crisp, wireless audio without a mess of cables.
Got questions or weird issues? Drop a comment, and I’m happy to help!
References
[1] According to Apple Support, pairing AirPods to a Mac requires opening the case and enabling Bluetooth in Settings (https://support.apple.com/en-us/HT209463).
[2] Microsoft explains how to connect Bluetooth audio devices to Windows laptops and troubleshoot common issues (https://support.microsoft.com/windows/bluetooth-devices-connecting-and-fixing-problems-873e9e7d-9bc2-89a3-3bc8-3271a7c5f882).
[3] Bluetooth version compatibility affects audio quality and connection stability (Bluetooth SIG, https://www.bluetooth.com/learn-about-bluetooth/bluetooth-technology/bluetooth-5-0/).


