Drawing a laptop might sound tricky at first. After all, it has all these sharp angles, tiny keys, and that glossy screen which reflects light just right. But don’t worry—by breaking it down into simple shapes and focusing on perspective, you’ll be sketching laptops that look realistic in no time.
If you’ve ever found yourself stuck wondering how much detail is too much? or why my laptop drawing looks all wonky and off-balance, this guide is for you. I’ll walk you through everything, from picking the right shapes, to nailing perspective, to choosing your tools. Ready? Let’s jump in!
What Basic Shapes Do I Need to Start Drawing a Laptop?
When you’re starting a drawing of anything complicated—like a laptop—it’s easiest to break it down into simple, familiar shapes.
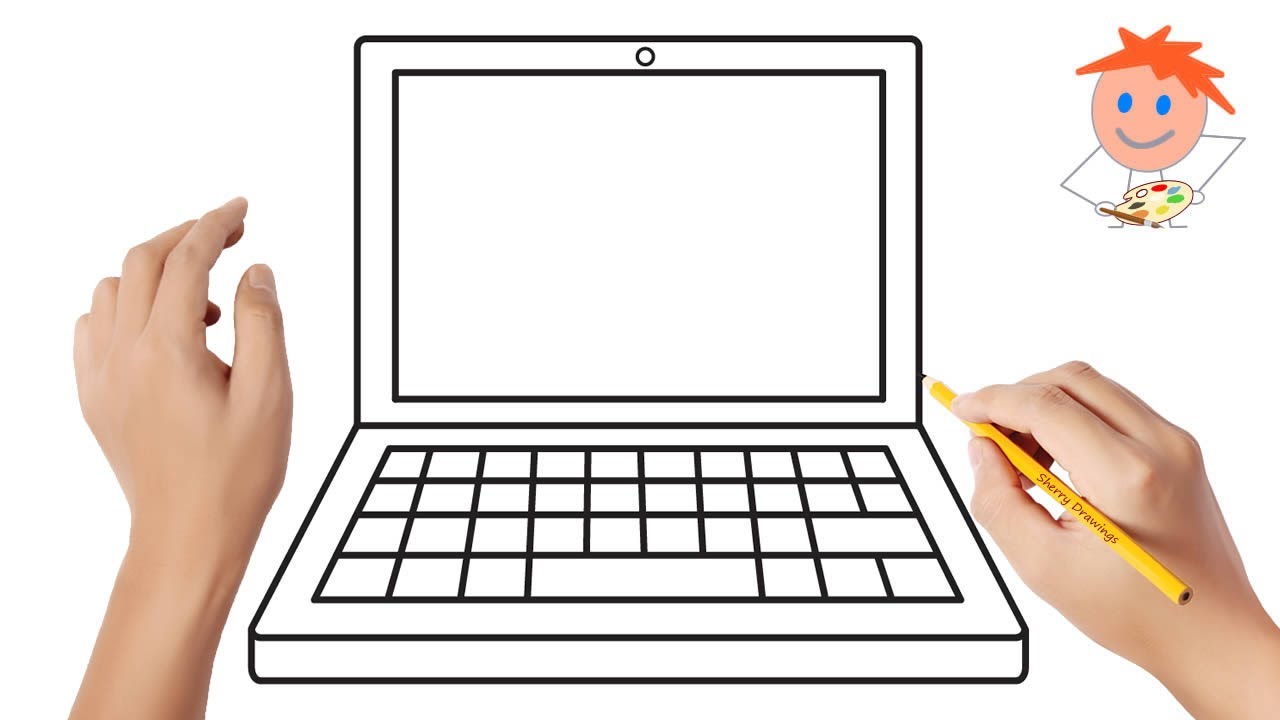
Step 1: Start with a Rectangle
The body of a laptop is basically a rectangle, right? So grab your pencil and sketch a horizontal rectangle. This will be the base where the keyboard sits.
Don’t stress about getting the proportions perfect just yet; it’s more about capturing the general shape.
Step 2: Draw the Screen as Another Rectangle
Now, draw another rectangle attached to the base, but this one will be vertical or angled depending on your laptop’s position. This is your screen.
Here’s a tip: the screen’s height is usually about half or slightly less than the base’s width. This keeps things proportional.
Step 3: Add Thickness with Thin Rectangles
Laptops aren’t paper-thin; they have some thickness. So on the base rectangle, add a thin rectangle beneath or an outline around it to show its thickness.
This little extra detail makes your drawing feel more solid and real.
Why Basic Shapes Matter
Starting with rectangles feels almost too simple, but trust me, this is the foundation.
If your rectangles look weird or out of proportion, the whole laptop will look off. So take your time here.
How Do I Add Details Like the Keyboard and Screen?
Great, you’ve got the laptop shape. Now it’s time to bring it to life with details.
Step 1: Sketch the Keyboard Keys
The keyboard is a grid of tiny rectangles or squares. But you don’t have to draw every key!
Instead:
- Draw horizontal lines evenly spaced (about 5-6 lines depending on your drawing size) across the base rectangle to represent rows of keys.
- Then add vertical lines lightly for columns. This gives the illusion of keys without overdoing it.
If you want a realistic touch, leave the spacebar bigger and maybe hint at the trackpad below the keyboard with a lighter, larger rectangle.
Step 2: Add the Screen Details
Is the screen just a blank rectangle? Nope! Most laptops have:
- A thin bezel (the frame around the screen). Draw a smaller rectangle inside the screen rectangle to represent this.
- Optionally, add a small circle or dot at the top center for the webcam.
- For an extra realistic effect, sketch a faint reflection or some icons on the screen but keep it simple. You want the screen to look “on” without going overboard.
Step 3: Include Ports and Other Features
If you’re feeling ambitious, add some side ports (like USB or headphone jacks). These are just tiny rectangles or ovals on the side of the base.
Again, less is more here—don’t get caught up trying to draw every little detail!
What Perspective Should I Use to Make the Laptop Look Realistic?
Perspective is where many beginners trip up. It’s easy to draw a flat laptop that looks stiff and lifeless.
Step 1: Choose a Simple Angle—3/4 View
I recommend starting with a 3/4 perspective. This means you see the laptop from a slight angle, showing both the screen and the keyboard.
Why? Because it:
- Gives depth to your drawing
- Shows off the laptop’s 3D shape
- Avoids the flatness of a straight-on view
Step 2: Use the Two-Point Perspective Technique
Here’s the trick:
- Imagine two points on your paper’s horizon line—one far left and one far right.
- Draw lines from the edges of your laptop shape angling toward these points.
This helps you keep the angles consistent and your laptop looking realistic.
Step 3: Watch the Angles Carefully
The screen should lean back slightly from the keyboard, not perfectly upright. And the edges of the base should angle toward the vanishing points.
If your laptop looks like a box with no depth, check these angles again.
Quick Fix: Use Guidelines Lightly
Lightly sketch perspective lines with a pencil, then erase them once the laptop looks right.
Which Drawing Tools or Materials Work Best for This?
Let’s talk materials. You don’t need fancy stuff to create a decent laptop drawing, just the right basics.
Pencil and Eraser
Start with a HB or 2B pencil for sketching—these are soft enough for shading but sharp enough for details.
An eraser is your best friend, especially a kneaded eraser which helps lift graphite without smudging.
Paper
Any smooth paper works, but avoid very rough textures since they can make small details harder to draw cleanly.
A standard sketchbook or printer paper is fine for practice.
Ruler and Compass
For beginners struggling with straight lines and angles, a ruler is essential.
Get comfortable using it for your rectangles and perspective lines.
Optional: Fine Liners and Coloring Tools
If you want to ink your drawing or add color later, use fine liners (like 0.3 mm pens) and colored pencils or markers.
But don’t rush to ink until you’re happy with the pencil sketch.
Common Pain Points When Drawing a Laptop—and How to Fix Them
Getting Proportions Right
It’s easy to get the base too long or the screen too tall.
Fix: Use a ruler and measure relative sizes. For example, the base is about twice as wide as the screen height.
Draw the shapes lightly first so you can adjust without making a mess.
Struggling with Perspective and Angles
Many beginners draw the keyboard and screen as flat rectangles with no depth.
Fix: Use the two-point perspective method I mentioned earlier. Also, look at your real laptop or a photo and notice how edges aren’t parallel but converge.
Overcomplicating Details
Trying to draw every single key or port can be overwhelming and clutter your sketch.
Fix: Suggest details rather than draw them exactly. Simple grids for keys, small dots for webcams—these tricks work well.
Step-by-Step Summary Table
| Step | What to Do | Tips |
|---|---|---|
| 1. Draw base rectangle | Sketch a horizontal rectangle | Use ruler; keep proportions light |
| 2. Add screen rectangle | Attach vertical or angled rectangle | Screen height = ~50% base width |
| 3. Show thickness | Add thin rectangles to base edges | Adds 3D feel |
| 4. Sketch keyboard | Draw horizontal & vertical lines | Don’t draw every key; suggest |
| 5. Detail the screen | Add bezel, webcam dot, simple icons | Keep it minimal |
| 6. Use perspective | Apply two-point perspective | Use vanishing points on horizon |
| 7. Refine & clean up | Erase guidelines, darken key lines | Use kneaded eraser for cleanup |
FAQs About Drawing Laptops
Q: How do I make a laptop look glossy or reflective?
A: Use soft shading on the screen with your pencil and include light reflections as irregular shapes. Avoid harsh lines.
Q: Should I draw the laptop closed or open?
A: Open is more challenging but shows more detail. Closed is simpler and good for beginners.
Q: Can I draw laptops from different angles?
A: Absolutely! Start with 3/4 view, then try top-down or side views once comfortable.
Final Thoughts: Practice Makes Perfect
Drawing laptops might seem intimidating, but breaking it down helps a ton. Think of your laptop as a combination of rectangles with some clever shading and perspective thrown in. Take it one step at a time. Don’t rush. And keep looking at your real laptop or photos—that’s your best teacher.
Remember, every artist started with shaky sketches. The more you practice, the better your proportions, perspective, and detail sense become. So grab your pencil and start sketching!
References
- According to the Drawing Foundations course by Proko, mastering basic shapes and perspective is key to realistic object drawing (Proko).
- Perspective Made Easy by Ernest R. Norling explains two-point perspective well for beginners (Google Books).
Give it a try, and soon you’ll be drawing laptops that look like they could turn on right off the page!