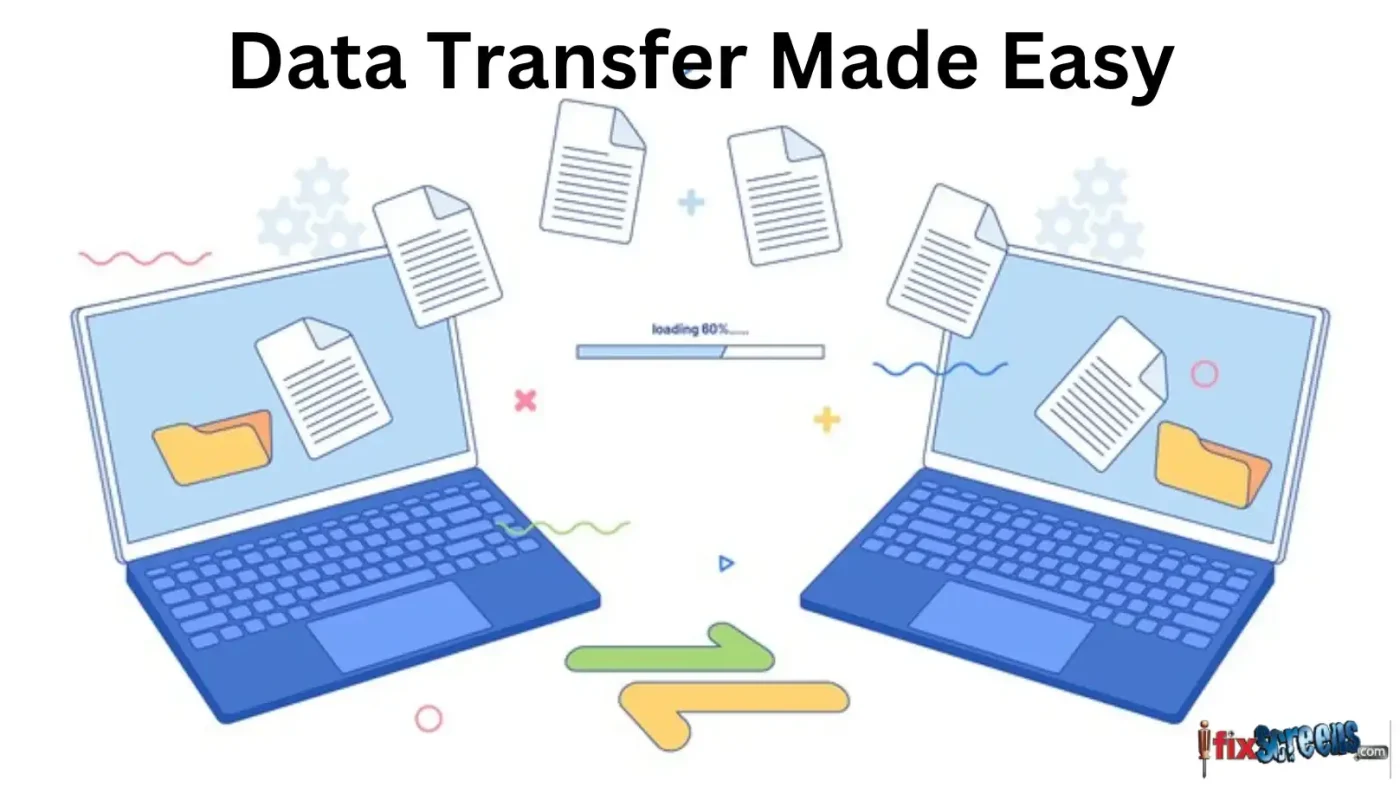
So, you’ve got a new laptop and want to move your files, photos, and documents from the old one. Maybe you’re upgrading for work, school, or just because your old laptop is starting to feel slow. But how exactly do you transfer your data? It might sound complicated if you’re not super tech-savvy. Don’t worry—we’ve all been there. This guide breaks it down, step by step, in the easiest way possible.
By the end, you’ll know which methods work best, what tools or cables you’ll need, how long it takes, and how to avoid the mess of data loss or file corruption. Ready? Let’s go!
What Are the Easiest Methods to Transfer Data Between Laptops?
There are several ways to transfer data, but the “best” method depends on your situation, like whether you have internet access or physical cables handy. Here are the three easiest and most common ways:
1. Using an External Hard Drive or USB Flash Drive
Think of this one as the classic “sneakernet” method: you copy files to a drive, then plug that drive into the new laptop.
- Why it’s easy: No network setup needed. Just copy and paste.
- What you need: An external hard drive or a USB flash drive with enough space for your files.
- Best for: Large files or when you don’t want to mess with network settings.
2. Transferring Over a Local Network (Wi-Fi or Ethernet)
If both laptops are connected to the same Wi-Fi or wired network, you can transfer files directly.
- Why it’s easy: No cables required if on Wi-Fi.
- What you need: Both laptops connected to the same network; optionally, an Ethernet cable for faster transfers.
- Best for: Moderate file sizes, especially if you don’t have an external drive handy.
3. Cloud Storage Services
Use services like Google Drive, Dropbox, or OneDrive to upload files from one laptop, then download to the other.
- Why it’s easy: No cables or network setup beyond internet connection.
- What you need: Internet access and an account with a cloud provider.
- Best for: Small to medium-sized files; handy for ongoing sync, not big one-time transfers.
How Do I Transfer Files Without an Internet Connection?
Great question! Sometimes you’re stuck somewhere without Wi-Fi or mobile internet. Don’t panic. Here are ways to get your files across without the web.
Use an External Drive
This method is still the simplest offline option. Just plug your drive into the old laptop, copy files, then plug it into the new one.
- Tip: If you don’t have a big external drive, use multiple USB flash drives.
Use an Ethernet Cable with Network Sharing
Did you know two laptops can be connected directly via an Ethernet cable? This creates a mini-network between them.
- What you need: An Ethernet cable (preferably a crossover cable, though most modern laptops auto-detect this).
- Setup: Enable file sharing on both laptops, assign IP addresses manually.
- Why it works: Files zip between machines without internet.
Use a Transfer Cable
There’s a special USB transfer cable made just for this purpose. It looks like a long USB cable with a little box in the middle.
- Plug one end into each laptop.
- Run the transfer software it comes with.
- Drag and drop your files.
- This is super user-friendly, especially for folks uncomfortable with network setups.
Which Cables or Tools Do I Need for Data Transfer?
Depending on the method, here’s what you might need:
| Method | Cables/Tools Required | Notes |
|---|---|---|
| External Drive Transfer | External hard drive or USB flash drive | No cables needed beyond the drive itself. |
| Local Network (Ethernet) | Ethernet cable (Cat5e or Cat6) | Use crossover cable for old laptops. |
| Local Network (Wi-Fi) | None | Just Wi-Fi connection on both laptops. |
| Transfer Cable Method | USB transfer cable + accompanying software | Plug-and-play, best for beginners. |
| Cloud Transfer | None (internet required) | Account on cloud platform needed. |
Here’s a quick note on cables: If both laptops support USB-C ports, sometimes you can transfer files using a USB-C data transfer cable, which can be faster than USB 3.0 flash drives or external HDDs.
Step-by-Step Guide: Transfer Files Using Each Method
Let’s dive into the practical part—how to actually do it.
Method 1: Using an External Hard Drive or USB Flash Drive
- Connect the external drive to your old laptop.
- Open “File Explorer” (Windows) or “Finder” (Mac).
- Navigate to the folders you want to transfer (Documents, Pictures, Desktop, etc.).
- Copy the files (right-click > Copy or Ctrl+C).
- Paste them onto the external drive (right-click > Paste or Ctrl+V).
- Safely eject the external drive.
- Connect the drive to your new laptop.
- Copy files from the drive to the desired folders on your new machine.
Tip: Organize your files into folders before copying. It saves a headache later.
Method 2: Transfer Over Wi-Fi Network (Windows Example)
- Make sure both laptops are connected to the same Wi-Fi.
- On your old laptop, right-click the folder you want to share.
- Select “Give access to” > “Specific people.”
- Choose “Everyone” or your username and set permission to “Read/Write.”
- On the new laptop, open File Explorer.
- Type
\[OldLaptopName]into the address bar, e.g.,\JohnsOldLaptop. - You’ll see the shared folders—copy what you need.
- Paste them to your new laptop’s folders.
Method 3: Transfer via Ethernet Cable
- Connect laptops with an Ethernet cable.
- On both laptops, go to Network Settings.
- Assign static IP addresses (e.g., Old laptop: 192.168.1.1, New laptop: 192.168.1.2).
- Enable file sharing on the folders you want to move.
- Open File Explorer on the new laptop.
- Type the old laptop’s IP address in the address bar:
\192.168.1.1. - Transfer files as needed.
Method 4: Use a USB Transfer Cable
- Plug the transfer cable into both laptops.
- Install and open the transfer software (usually comes with the cable).
- Follow on-screen prompts to select files and start transferring.
- Wait for the process to complete, then unplug the cable.
Method 5: Use Cloud Storage
- On old laptop, upload files to Google Drive, OneDrive, or Dropbox.
- On new laptop, log into the same cloud account.
- Download the files to your new machine.
Note: This is slow for big files and requires a solid internet connection.
How Long Does It Typically Take to Transfer Large Files?
The transfer speed depends on:
- File size
- Transfer method
- Hardware speed (USB 2.0 vs. USB 3.0, Wi-Fi speed)
- Network bandwidth
Here’s a rough estimate:
| Method | Average Speed | Time for 10GB File |
|---|---|---|
| USB 2.0 Drive | ~30 MB/s | ~5-6 minutes |
| USB 3.0 Drive | ~100-150 MB/s | ~1-2 minutes |
| Ethernet Cable | ~1000 Mbps (125 MB/s) | ~1-2 minutes |
| Wi-Fi Network | 50-100 Mbps (6-12.5 MB/s) | 15-25 minutes |
| Cloud Storage (50 Mbps upload/download) | 6 MB/s approx | 25-30 minutes upload + download |
If you’re moving a whopping 100GB of data, expect times to multiply accordingly.
Common Concerns and How to Avoid Data Loss or Corruption
Fear: “What if I lose everything during the transfer?”
Totally understandable! Data loss is scary but rare if you follow these tips:
- Always back up your data before starting. Don’t skip this step. An external backup or cloud backup can save your skin.
- Don’t interrupt the transfer. Avoid unplugging cables or external drives midway.
- Use “Safely Remove Hardware” before unplugging drives to avoid file corruption.
- Check transferred files. Open a few files after transfer to ensure they’re intact.
- Avoid transferring system files unless you know what you’re doing. Focus on documents, photos, and media.
FAQ: Quick Answers About Laptop Data Transfers
Q: Which transfer method is best if I have no internet?
A: Use an external hard drive or connect the laptops with an Ethernet cable.
Q: Can I use Bluetooth to transfer files?
A: Yes, but it’s painfully slow for big files. Better for tiny documents.
Q: Do I need special software?
A: Usually no. Most laptops have built-in options for sharing files or you can use simple drag-and-drop on external drives.
Q: What’s a good free cloud storage option?
A: Google Drive offers 15GB free, enough for a decent batch of documents and photos.
Q: Why is my transfer so slow?
A: Could be old USB ports (USB 2.0), weak Wi-Fi signal, or large files chunked inefficiently.
Final Thoughts
Transferring data from one laptop to another isn’t as scary as it sounds, even if you’re new to this. If you want fast and easy, go with an external drive or Ethernet cable. If you’re comfortable with some setup, network sharing works well, especially for ongoing use.
Don’t rush. Take your time, back up before you start, and double-check files after transfer. You’ll be rocking your new laptop in no time, with all your photos, papers, and playlists intact.
If you want a quick refresher or to compare methods, here’s a summary:
| Method | Best For | Speed | Requires Internet | Requires Cable/Device |
|---|---|---|---|---|
| External Drive | Large files, offline | Fast | No | External drive |
| Wi-Fi Network Transfer | Moderate files, casual | Moderate | Yes | No |
| Cloud Storage | Small files, ongoing sync | Slow | Yes | No |
| Ethernet Cable | Large files, offline | Fastest | No | Ethernet cable |
| USB Transfer Cable | Beginners, easy setup | Fast | No | USB transfer cable + software |
And remember, you’re not alone in feeling overwhelmed by all the options. Just pick the one that fits your gear and comfort level, and take it one step at a time.
References
[1] According to How-To Geek, USB 3.0 drives can transfer data at up to 150MB/s, significantly speeding up file transfers compared to USB 2.0. https://www.howtogeek.com/ (accessed June 2024).
[2] Microsoft Support outlines how to set up file sharing over a local network on Windows PCs. https://support.microsoft.com/ (accessed June 2024).
[3] Lifewire explains using Ethernet cables and network sharing for file transfers without internet. https://www.lifewire.com/ (accessed June 2024).
Now, go ahead and give your file transfer a shot! If you get stuck, just revisit these steps. You’ve got this.


