 by
by Corrector and concealer are two makeup essentials that can help create a perfect skin tone and cover imperfections. While both are used for similar reasons, however, the two products differ with respect to their main purposes and use. Concealers are made to cover the appearance of dark circles, blemishes, and imperfections, offering the coverage you need to match your skin’s complexion.
Correctors On the other hand they are utilized to correct color or neutralize specific skin concerns like under-eye circles, redness, or discoloration through the use of the theory of color. In this tutorial, we will discuss the main distinctions between concealers and correctors along with their different types of applications, as well as how to apply them to ensure you have the perfect foundation for your cosmetics.
What is Concealer?
Concealer is a cosmetic item used to conceal as well as “conceal” imperfections on the skin, including acne, dark circles under the eye, redness marks, and other imperfections. Concealer is usually available in different types, such as cream, liquid, or stick. It is created to blend with your skin’s tone or appear lighter so that it can provide concealer without drawing attention to the hidden areas.
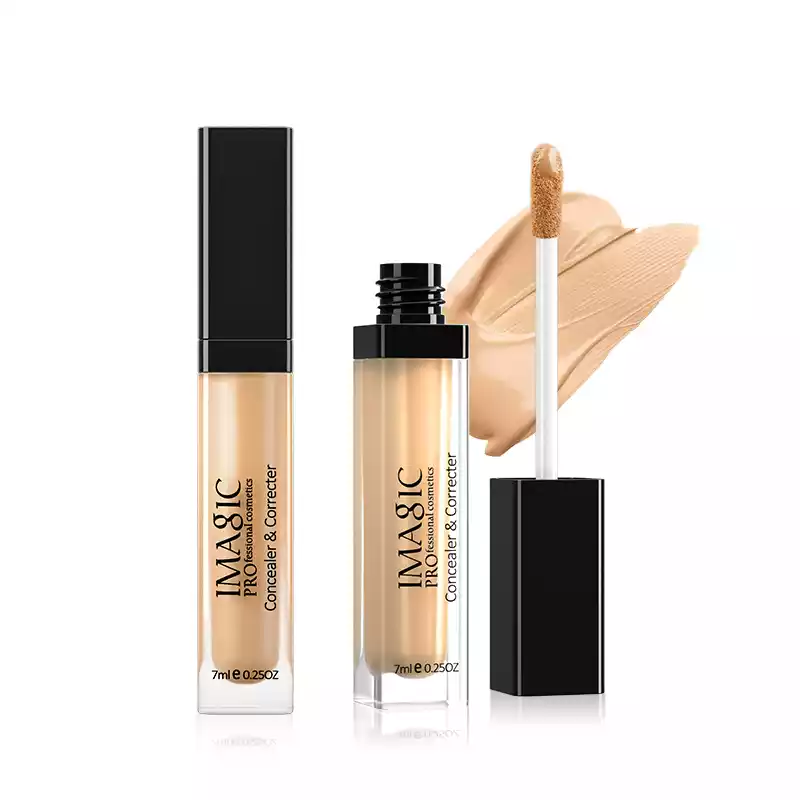
Concealers tend to be thicker as well as more pigmented than foundations which makes them more effective in concealing imperfections. They are a crucial instrument to achieve the perfect, even skin tone in makeup application.
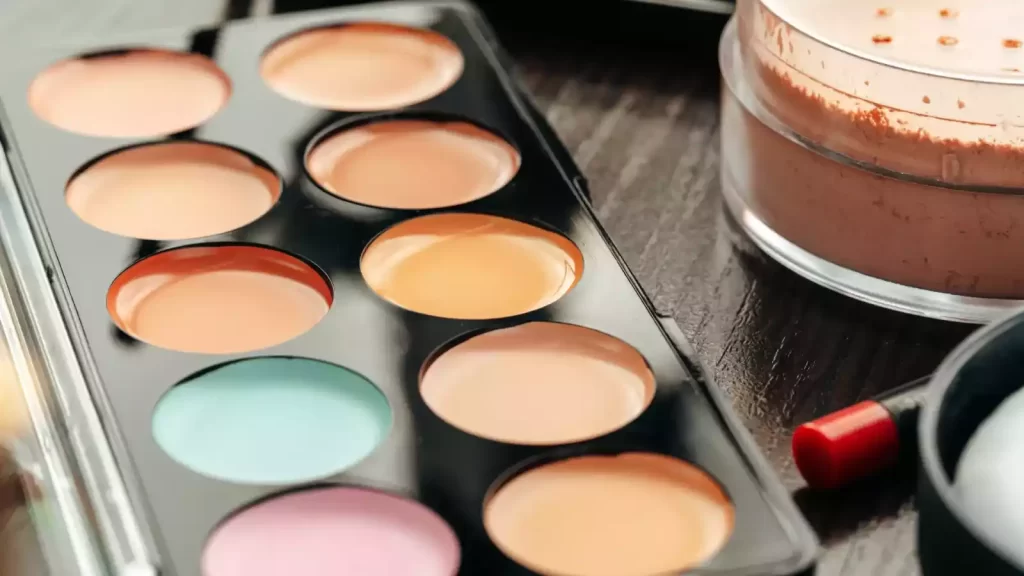
What is a Corrector?
A corrector, as used in terms of cosmetics is a product for cosmetic use to counteract or neutralize particular flaws, imperfections on the skin, or undertones. Correctors are created to deal with problems with color that are addressed by using the concepts that are based on color theories.
They are available in a variety of shades, each of which addresses the specific issue:
- The shades are either salmon or peach. Correctors: These shades are commonly used to neutralize blueish or purple undertones, like dark circles under-eyes.
- Green Correctors: Correctors in green are used to reduce redness of the skin like blemishes and rosacea.
- Lavender or Correctors in Purple: These shades can assist in brightening yellowish or sallow skin.
Correctors tend to be thin and lightweight in their texture which makes them ideal to be used in conjunction with other products for makeup. They are usually applied prior to foundation or concealer to address particular color issues, resulting in an even and flawless foundation for your cosmetics. With the corrector that is right to address your specific skin issues, it will give you an even and balanced appearance.
Key comparison chart
Here’s a key comparison chart summarizing the differences between concealers and correctors:
| Aspect | Concealer | Corrector |
|---|---|---|
| Primary Purpose | Conceals imperfections and provides coverage. | Neutralizes specific color issues, like redness or dark circles. |
| Texture and Consistency | Typically thicker and more pigmented. | Lighter and sheer in texture. |
| Color Range | Matches the wearer’s skin tone or is slightly lighter. | Available in various colors to target specific issues based on color theory. |
| Application Techniques | Applied to areas needing coverage. | Applied to neutralize discolorations before using concealer or foundation. |
| When to Use | Part of everyday makeup for concealing imperfections. | Used when specific color correction is needed. |
| Examples of Use | Covering blemishes, hiding dark circles, highlighting, and contouring. | Neutralizing redness, counteracting dark under-eye circles, and brightening sallow areas. |
Understanding these differences helps in choosing the right product for your specific makeup needs, whether you want to conceal imperfections or address color-related skin issues.
Concealer Vs Corrector: Which One Should You Use?
The decision to make about whether you should apply a concealer or corrector will depend on your particular requirements for makeup and the skin concerns you wish to tackle.
These are guidelines to help you decide between concealer and corrector:
Use Concealer When:
- You’d like to cover up any imperfections, acne scars, or any imperfections you may have in your face.
- Dark circles under your eyes are the primary concern. They aren’t significantly discolored (blue or purple-green).
- You must emphasize or shape your face.
- You’re looking for a casual makeup look that has a natural, smooth finish.
- The main goal is to have evenly toned skin that is in line with your skin tone.
Use Corrector When:
- There are specific skin color problems, like dark circles under your eyes, redness with bluish or purple undertones, or an appearance of sallowness.
- You’ll need to even out or reduce imperfections prior to applying foundation or concealer.
- The skin problems you are experiencing are mostly caused by color imbalances more than imperfections or texture.
- You’re hoping to improve the quality of your makeup to create an even, flawless skin.
- You would prefer a more specific method to tackle specific color issues.
Corrector and concealer can be combined to create an extensive makeup routine. It is common to apply corrector first to tackle problems with color, and after that apply the concealer to give you the coverage you need. The decision between a corrector and concealer depends on your specific skin issues and desired look take into consideration your individual requirements before deciding on which one you will use.
Is Concealer Necessary After Corrector?
The decision on whether or not to apply concealer following corrections will depend on the goals of your particular makeup routine and the seriousness of the issues with color you’re trying to resolve.
- Using a Corrector Alone: In some instances when the corrector eliminates the problem or discoloration you’re trying to fix it is not necessary to apply concealer over top. For instance, if employ a peach corrector to reduce dark circles under your eyes and provide enough luminosity and coverage, then you may be satisfied with just a concealer.
- Utilizing Concealer after Corrector: The majority of correctors are merely cosmetic and not intended to give complete coverage by themselves. In such instances, it is recommended to apply concealer in conjunction with the corrector in order to blend and create a more natural-looking look. For example, if you apply the corrector in green to lessen the redness, you could apply the concealer to match the tone of your skin to conceal the green tint and provide overall coverage.
- Personal preference: Your preference could be based on the style you prefer to use for your makeup and the amount of coverage you like. Some people prefer a more minimal natural look and could choose to use a corrector on its own. Some prefer a more polished and flawless appearance, which usually involves concealers as well.
- The degree of the issue: The severity of the issue can also be a factor. If the flaw or discoloration is obvious and noticeable, using correctors and concealers could be the best method to attain your desired level of coverage as well as correction of color.
In conclusion, using concealer following correctors isn’t necessarily necessary but it’s a typical procedure to get a flawless and balanced appearance. It’s based on your individual requirements, style of makeup, and the efficiency that the product you’re applying. You’ll need to experiment to discover the best combination for you.
Corrector and Concealer Shades
Selecting the shade of concealer and corrector is essential to achieve a perfect and even makeup appearance. The shades you choose must match the tone of your face and also address particular problems with color.
Here’s an overview of the shades for concealer and corrector that are based on the most common skin issues:
Corrector Shades:
- peach, or Salmon Corrector: These shades are perfect for balancing bluish or purplish undertones, like dark circles under your eyes. They are great for most skin tones.
- Yellow Corrector: Correctors with yellow colors can neutralize blue or purple discoloration. They’re especially beneficial for fair-to-light skin tones.
- The orange Corrector: The dark skin tones could benefit from a corrector in orange to correct bluish under-eye circles or other imperfections.
- The Green Corrector: Correctors made of green can be utilized to reduce redness like blemishes and rosacea.
- The color purple or lavender is a Corrector: The shades can brighten dull or yellowish areas of the skin. They work best on light to moderate skin.
Concealer Shades:
- Shades that Match Your Skin: for general concealing of imperfections and blemishes, pick a concealer shade that closely matches what you’re wearing to match your complexion. It is also possible to go a bit lighter to highlight purposes.
- Concealer for the Under Eye: For covering dark circles go for a concealer between one and 2 shades darker than the skin color. This will help brighten the under-eye area.
- Contouring: to create contours and shadows for your face, make use of concealer shades that are a little darker than the natural skin shade.
- Color-correcting concealer: Sometimes you’ll need a concealer with a color correction that matches your skin tone to cover correctors. For example, if you’ve applied the green corrector, then you’ll apply a normal concealer that corresponds to the tone of your skin to cover that green tint.
Keep in mind that the choice of shades will depend on the tone of your skin and personal preferences. It’s crucial to test colors in natural lighting to make sure they match seamlessly with your skin. Also, you may require various shades depending on the season or in which your complexion shifts.
How to apply under eye corrector and concealer
Applying concealer and under-eye corrector can brighten and hide dark circles, resulting in a more awake and fresh appearance.
This step-by-step guide on how to use these efficiently:
Materials You’ll Need:
- Corrector for the under-eye (in the right shade, like salmon or peach)
- Concealer (in an appropriate shade to match the tone of your face or a little lighter)
- Makeup brushes and makeup sponges
- Setting powder (optional)
- Makeup primer (optional)
Step 1: Prepare Your Skin:
- Begin with a clean and hydrated under-eye area. If you’re using an eye primer apply it to make an even, smooth surface.
Step 2: Apply the Corrector:
- With a clean, dry fingertip makeup brush, or sponge, apply a tiny amount of cosmetic corrector into a triangle underneath your eyes. Place the center of the triangle extending along the lower lash line, and the tip extending towards your cheek. The corrector should cover dark circles as well as any purplish or blue undertones.
Step 3: Blend the Corrector:
- Blend the corrector gently by pushing it down into the skin. Don’t scratch or pull the delicate skin beneath your eyes. It is possible to apply the makeup sponge or concealer brush to do this.
Step 4: Apply Concealer:
- Select a concealer that is in line with the tones of your complexion or a bit lighter. Use the same method as using the corrector and applying the concealer to the correct area. The concealer must be in a triangular form and cover the corrector.
Step 5: Blend the Concealer:
- Then, blend the concealer onto your skin by gently patting and pressing. Make sure it blends seamlessly with your skin and doesn’t cause apparent lines of demarcation.
Step 6: Fix using Powder (Optional):
- If you’d like to have more durability and prevent creasing, try setting the area under your eyes with the use of a translucent setting powder. Make use of a tiny brush that is soft to apply a small volume of makeup.
Step 7: Final Touches:
- Look for areas that might require additional mixing or coverage.
- You can finish your makeup routine according to your preferences including applying foundation, or any other makeup products.
Tips:
- Utilizing just a little amount and a small amount can go a long way in the case of correctors, particularly.
- Mix the ingredients well so that you don’t get a bulky or cakey look.
- Make sure you choose the correct shades to address your individual issues with your eyes.
- If you’re suffering from wrinkles or lines Avoid applying heavy makeup to keep them from being highlighted.
This way the corrector for your under-eye and concealer will effectively hide dark circles, enhance the area under your eyes, and give a more refreshed and well-rested look.
Conclusion
Concealers and under-eye correctors are crucial instruments in the world of makeup. They can help you create a flawless and fresh appearance. Correctors, which are designed to neutralize certain color issues such as dark circles, are available in a variety of shades that focus on undertones. While concealers offer coverage that is in line with the skin shade. What makes them successful is using them correctly.
If you follow the step-by-step instructions that we have provided earlier it is possible to effectively apply these products to conceal imperfections and brighten the under-eye area. Be sure to select the appropriate shades, blend lightly, and apply just enough to keep from a cakey or heavy appearance.
With just a bit of practice, you’ll learn the technique of using an under-eye concealer and corrector, improving the overall look of your makeup and giving your eyes a fresh and awake look. These are tools that can be used that will help you put your most attractive face regardless of the event.